
NPS Trip Planning Guide
December 2022
National Park Service
U.S. Department of the Interior
LET‘S PLAN YOUR ADVENTURE!
Follow the steps in this guide to help you get the most out of your visit to a park.
You will learn about the park environment, pick an activity that is right for your
skill and experience level, and pack the necessary gear for a great adventure.
CHECKLIST:
Use this checklist to track your trip planning steps. Find more details on each item inside this guide.
KNOW BEFORE YOU GO
Learn about the park at NPS.gov
Find out what activities you can do at
the park
Know your limits - Assess your skills,
tness, and experience
Pick the right activity for YOU
Look for regulations, permits, and
reservations needed for your activity
Create a backup plan
Pack the 10 essentials
Share your Trip Plan with Trusted Contact
Create an Emergency Plan
ARRIVAL AT THE PARK
Check park conditions
Check the 10 Essentials and your gear
Ask yourself: Are you ready for your activity?
Put your backup plan into action, if necessary
Pick up permits
DURING THE TRIP
Stick to your plan
Stay within designated areas
Stay together
Stay aware of your surroundings
Keep a safe distance from wildlife
Check in with yourself: Should you continue?
AFTER THE TRIP
Check in with your Trusted Contact
Think about lessons learned
Share your experience
RANGER TIP
Traveling with friends or family?
Share this guide with them. Everyone
should be involved in trip planning.
The best group adventures are the
ones everyone is prepared for!
1
RANGER TIP
KNOW BEFORE YOU GO
START
HERE
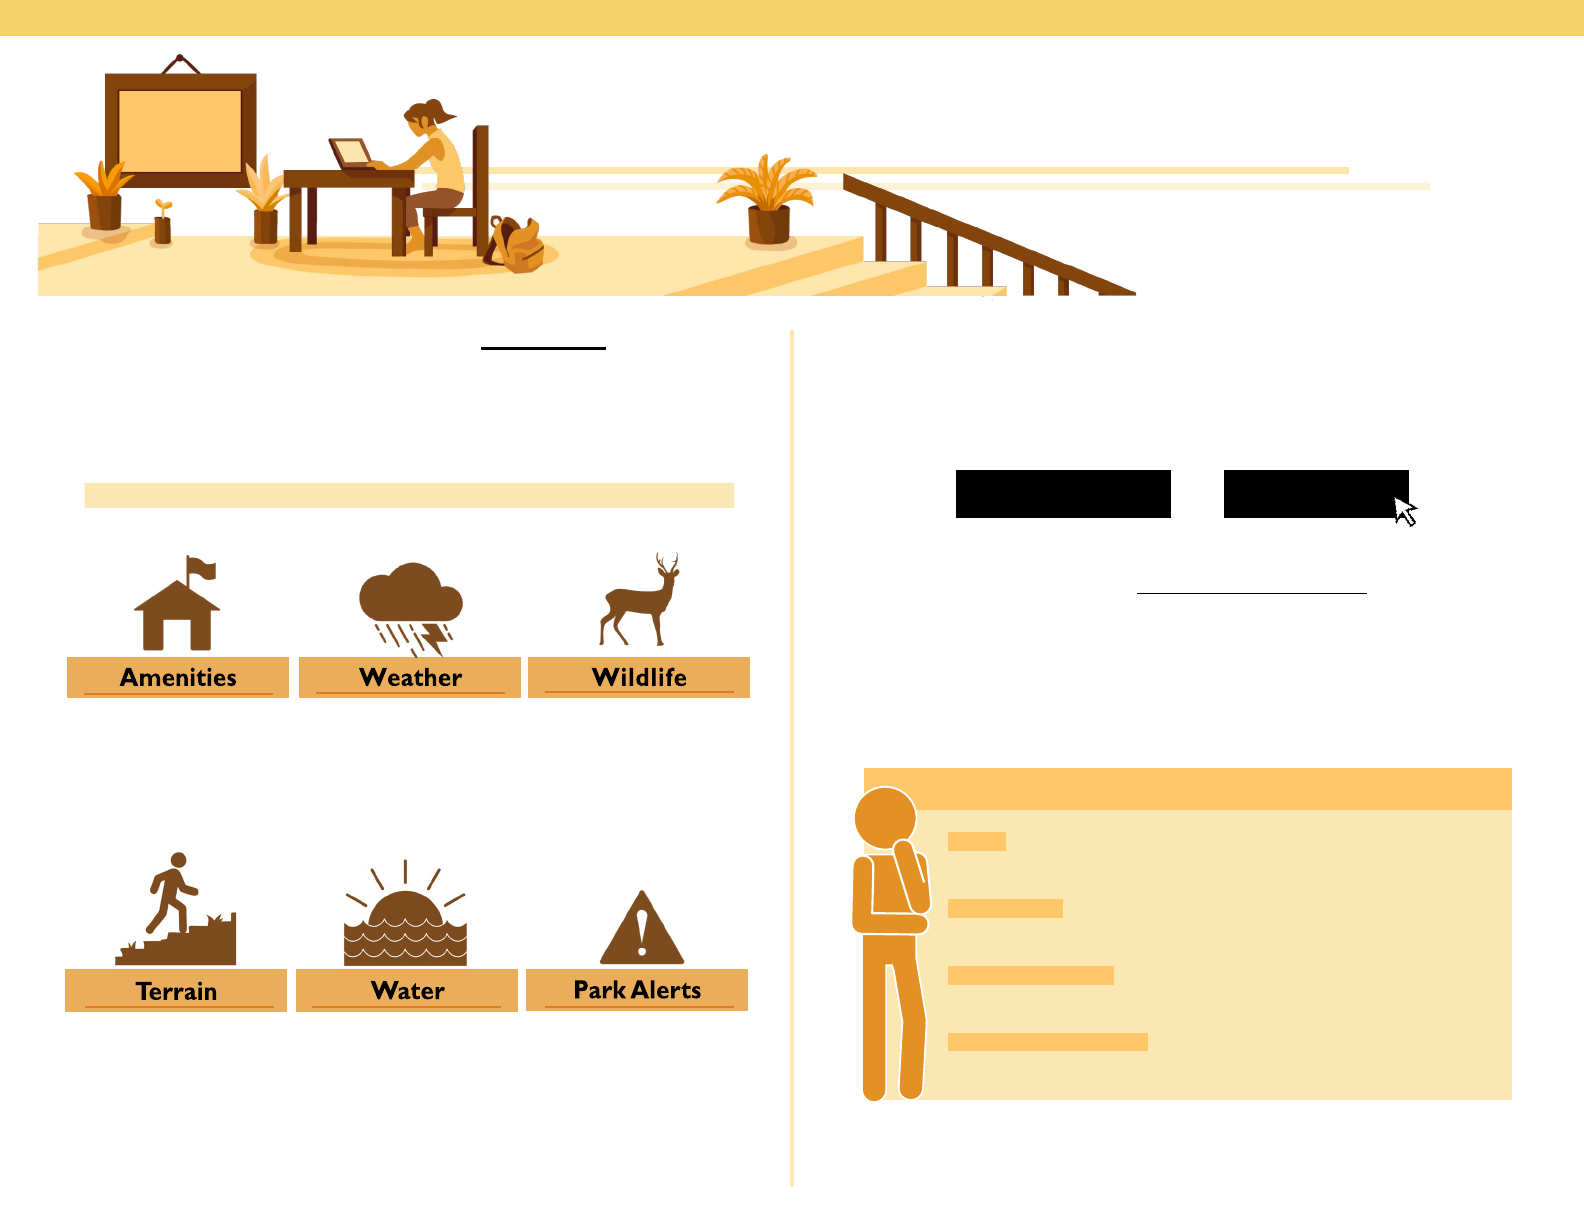
1. LEARN ABOUT THE PARK AT NPS.GOV
Every park environment is unique and can change with the seasons and
natural events. Visit the park’s website on NPS.gov or on the NPS mobile
app to become familiar with the places you will visit. This will help you
identify and prepare for hazards in the park.
Consider the following:
Does the park have
drinking water, park
shuttles, or stores to
buy food and gear?
What is the weather
forecast during your
trip? How will you
prepare for it?
What animals live
in the park and how
will you prepare for
a chance encounter?
Are there uneven
surfaces like unpaved
trails or stairs you
need to be aware of?
Are there currents or
underwater hazards?
Is the temperature of
the water cold?
Are there closures,
hazards, or other
active alerts that
may affect your visit?
2.
FIND OUT WHAT ACTIVITIES YOU CAN DO AT
THE PARK
There is more than one way to experience the park. Find a complete list
of activities on the park’s website under:
Plan Your Visit >> Things to do
Explore the pages of the activities that interest you. Find out if the
park has Ranger-guided and Junior Ranger programs and consider
participating in them.
3. KNOW YOUR LIMITS
Your experience in the park is yours to decide. Only you know your
abilities and your comfort level to select the right activity for you.
Assess the following about yourself:
Skills — What outdoor skills do you have? Have you used them
in a park like the one you’re visiting?
Experience — How often do you recreate outdoors? Have
you recreated in a park like the one you’re visiting?
Physical Fitness* — Are you physically t for your trip? Are
there any activities that are beyond your abilities?
Medical Conditions* — Do you have a medical condition that
could be worsened by the weather, altitude, or physical exertion?
* Consult a physician if you have any questions on tness levels, health conditions, or
medications required.
2

4. PICK THE RIGHT ACTIVITY FOR YOU
There is more than one trail to hike, river to paddle, or mountain to
climb. Pick an activity that you can safely enjoy during your visit. As you
build your skills and experience, you can keep challenging yourself.
Consider the following:
Weather:
• Will the weather make the activity
more difcult?
• How can you prepare for it?
Duration:
• How long will it take you to
complete the activity?
• Do you have the physical tness and
endurance for it?
Difculty:
• What is the difculty level of the
activity you’d like to do?
• Is it within your limits and your
comfort level?
Skill:
• Does the activity require special
skills (e.g., rock climbing)?
• Do you have that skill? If not, how
will you learn it before the trip?
Gear:
• Does the activity require special
gear (e.g., life jacket, helmet)?
• Do you have or can you get the righ
gear before your trip?
t
5. LOOK FOR REGULATIONS, PERMITS, AND
RESERVATIONS NEEDED FOR YOUR ACTIVITY
Regulations
Regulations, restrictions, and closures protect park
resources and keep visitors safe. Find out more about these
rules under “Learn About the Park” on the park’s website.
Permits
Find out if a permit is required for your activity under “Plan
Your Visit”. Follow the park’s instructions on how to apply
and obtain a permit.
Reservations
Some parks require reservations to enter the park, access
an area of the park, and participate in an activity. All
reservations can be made on Recreation.gov
6. CREATE A BACKUP PLAN
Sometimes things don’t go as planned.
• The weather forecast changes
• Parking lots are full
• Areas in the park are closed
• You forget to pack an essential gear for the activity
• You simply don’t feel up to the activity you planned
Choose a backup activity that will allow you to enjoy the park and not
cancel the trip altogether.
RANGER TIPRANGER TIP
Indoor activities are great backup plan options!
Park museums
Historical buildings
Interpretive exhibits
They involve light physical activity and require
no special gear.
3

7. PACK THE 10 ESSENTIALS
The 10 essentials are a collection
of rst aid and emergency items
that can help you in the event of
minor injuries, sudden weather
changes, or unexpected delays.
Tailor the 10 essentials to your
trip! You may need to pack
additional items like medication,
bug repellant, hiking boots, a life
jacket(s), and a helmet(s).
Remember to try your equipment before the trip. Make sure everything
works, ts correctly, and you know how to use it properly.
RARANGER TIPNGER TIP
Pack a whistle, especially if
you are traveling with kids.
If someone becomes lost,
blowing a whistle can help
search parties nd them.
Fire
Matches or fire starter
Extra Water
Water and water
treatment supplies
Shelter
Tent, tarp, or bivvy
Sun Protection
Sunscreen, hat, and
sunglasses
Navigation
Map, compass, and
GPS system
Extra Clothing
Jacket, hat, and
gloves
Repair Tools
Multi tool and duct
tape
Extra Food
Fruit, nuts, and
salty snacks
Light
Flashlight, headlamp,
and extra batteries
First aid
First Aid Kit
The NPS app has park maps that can be downloaded for ofine use.
Always carry a backup paper map. Your phone battery may not last the
whole trip and you could damage or lose your phone.
8. SHARE YOUR TRIP PLAN
Te
ll a Trusted Contact — who is not going on the trip with you —
where you are going, what you are doing, and when you will be back.
Ask them to call authorities and share your Trip Plan if you are not back
from your trip on time.
A Trip Plan has information
that helps authorities respond
if an emergency occurs or if
you don’t return from your
trip on time.
Use the Trip Plan template at
th
e end of this guide or create
your own.
RANGER TI
P
RANGER TIP
Remember to check in with
your Trusted Contact once
you get back from your trip.
9.
CREATE AN EMERGENCY PLAN
Accidents happen. You may become lost or injured while recreating
outdoors. Read the Emergency Plan at the end of this guide to learn
how to prevent becoming lost or injured and what to do in the event
of an emergency.
Your cellphone is NOT a ...
flashlight map survival kit
Your cell phone is not
a substitute for any of
the 10 essentials
You may not have
service in the park
Battery may not last
the whole trip
4

ARRIVAL AT THE PARK
STEP
TWO
1. CHECK PARK CONDITIONS
Stop by a Visitor Center or Ranger Station. Ask a Ranger about the
latest park conditions including weather forecast, active alerts, and
closures. You can also visit the park’s website, download the NPS
mobile app, or follow the park on social media for current information.
Ask a Ranger:
Are any areas closed?
(road, trails, campsites, etc.)
What’s the weather forecast?
(lightning, high temperatures, snow, etc.)
Is there animal activity?
(sightings, increased activity, etc.)
Are there other alerts?
(res, water levels, air quality, etc.)
Where can I nd drinking water?
(visitor center, along trails, etc.)
2. CHECK THE 10 ESSENTIALS AND YOUR GEAR
Check that you packed the 10 Essentials, any additional gear necessary
for your activity (e.g., life jacket) and that they are functional.
3. ASK YOURSELF: ARE YOU READY FOR YOUR
PLANNED ACTIVITY?
How are you feeling? Do you have the energy needed for your activity?
Remember that you have a backup activity you can do.
4.
PUT BACKUP PLAN INTO ACTION, IF NECESSARY
Implement your backup plan if:
• Park conditions have changed
• You don’t have the right gear and supplies
• You’re not feeling up to the planned activity
Notify your Trip Plan Trusted Contact of your change of plans.
5. PICK UP PERMITS
If a permit is required for your activity, get the permit, pay permit fees,
and read all regulations and safety information.
5

DURING THE TRIP
STEP
THREE
1. STICK TO YOUR PLAN
If you change your itinerary or route from the one noted on your Trip
Plan, your Trusted Contact will not know where you are. Search and
Rescue authorities may have trouble nding you.
If a safety concern impacts your activity, it may be better to turn around.
2. STAY WITHIN DESIGNATED AREAS
Stay on the trail, within established campsites, and other designated areas.
You will reduce the risk of becoming lost and injured while protecting
the natural resources around you.
3. STAY TOGETHER
If you are traveling with a group, stay together. If you must leave
the group, use the buddy system. Separation could lead to getting
lost or injured. Refer to the Emergency Plan for more tips on how
to avoid becoming lost or injured.
4. STAY AWARE OF YOUR SURROUNDINGS
Watch
your step
Stay alert
for wildlife
activity
Keep an
eye on the
weather
Report
suspicious
activities
5. KEEP A SAFE DISTANCE FROM WILDLIFE
Parks are not petting zoos. Use binoculars or your camera lens to
observe wildlife. When you follow safe wildlife watching practices, you
protect the health of the wildlife and yourself.
50 yds 100 yds
deer and most other wildlife bears and bison
6.
CHECK IN WITH YOURSELF:
SHOULD YOU CONTINUE YOUR ACTIVITY?
Assess how you feel and if you should continue with your planned
activity. Is it time to take a break? Should you turn around?
If something doesn’t feel right, don’t do it.
You can always visit the park on a day when you are feeling better.
6
AFTER THE TRIP
FINISH
1. CHECK IN WITH YOUR TRUSTED CONTACT
Notify your Trip Plan Trusted Contact when you complete each activity.
2. THINK ABOUT LESSONS LEARNED
Review how you prepared for the trip, what went well, and what you can
improve for your next visit to a park.
3. SHARE YOUR EXPERIENCE
Tell others your best outdoor tips and your lessons learned to help
them prepare for a fun and injury-free adventure. Use #MyParkStory
when sharing on social media.
RANGER TIP
Use the NPS Trip Planning Guide to plan every trip
to a park. Each time you’ll learn something new.
Share this guide with your family and friends.
Encourage them to use it! Help them have a
adventure and injury-free visit.
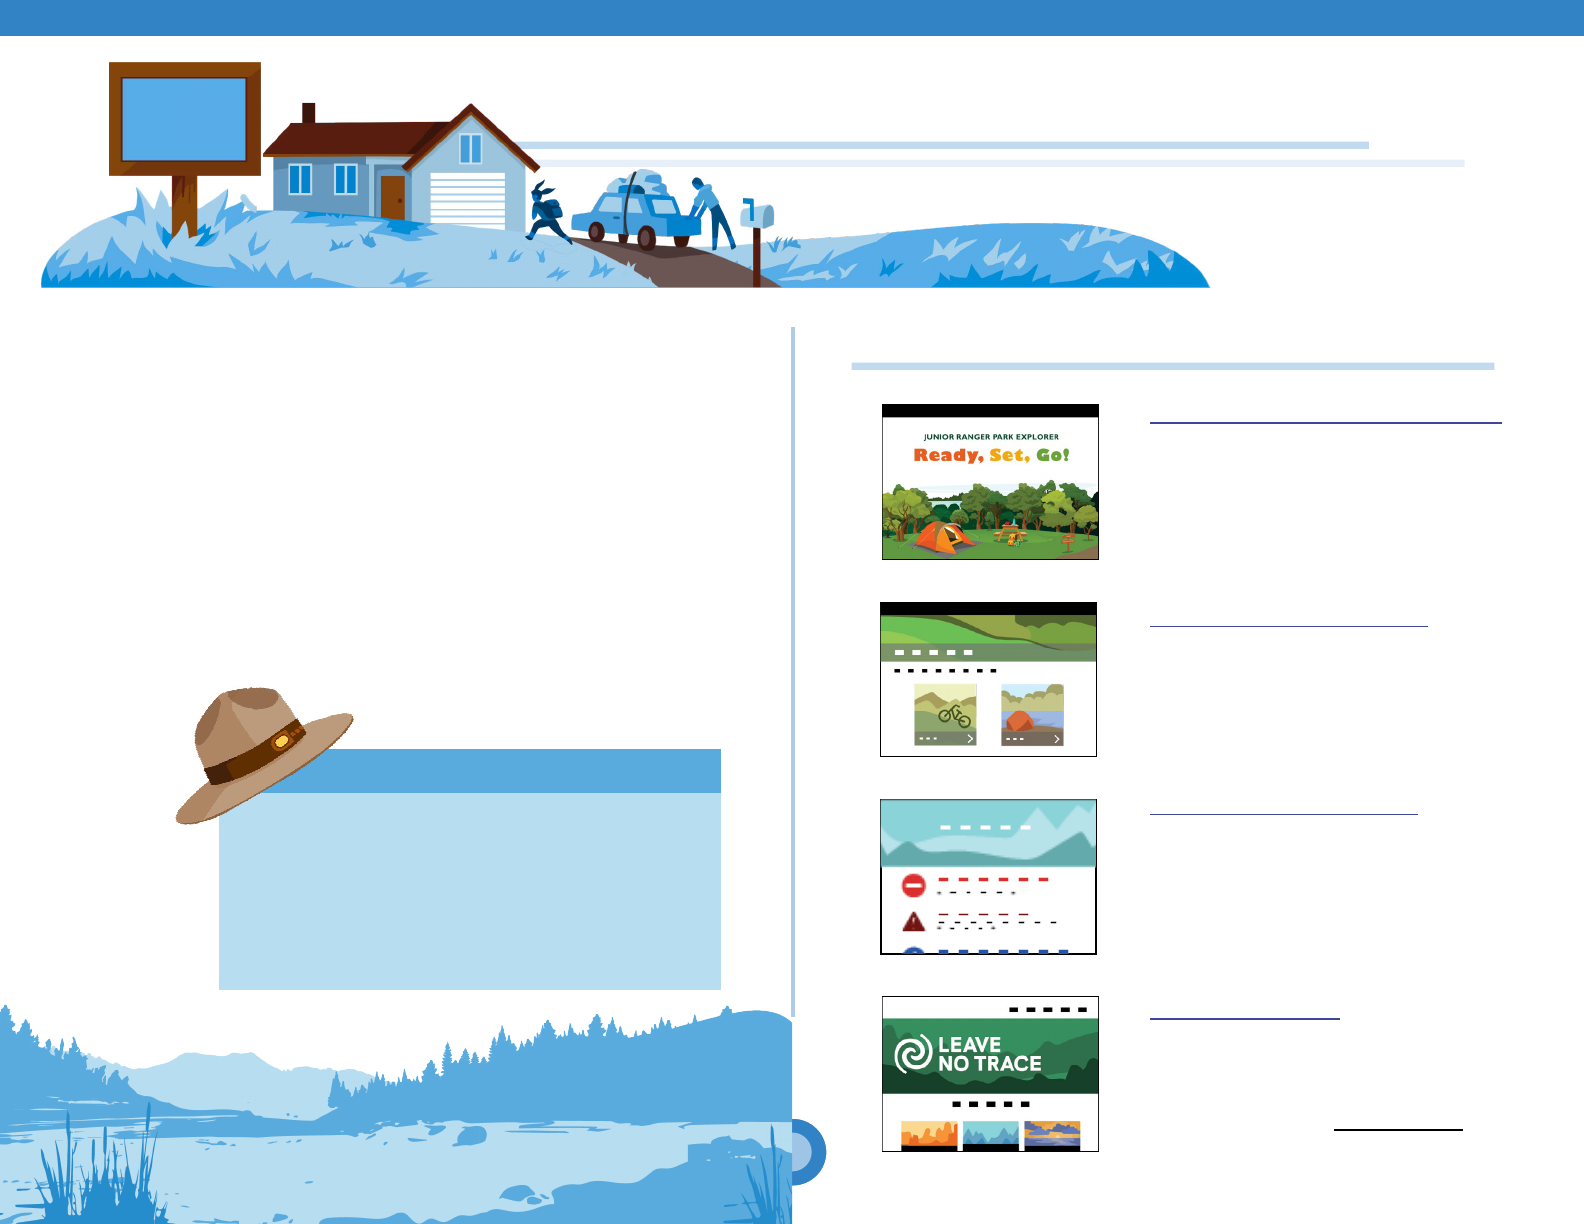
ADDITIONAL RESOURCES
Junior Ranger Park Explorer
Traveling with kids? Get them involved
in the planning process! The Junior
Ranger Park Explorer booklet is full
of fun activities that will help them
prepare for their adventure.
Health and Safety Tips
Whether you are shing, biking, or
watching wildlife, the Health and
Safety website has safety tips tailored
to your activity in a park.
Active Alerts in Parks
Visit the active alerts page to nd
timely information about the park’s
conditions including hazards and
closures that may affect your visit to
the park.
Leave No Trace
Help protect parks by practicing
Leave No Trace principles. You can
learn more about these important
practices by visiting www.LNT.org.
7
NPS Sample Trip Plan
Form 10-1700 (Rev 3/23)
National Park Service
U.S. Department of the Interior
December 2022
WHAT IS A TRIP PLAN?
Use this sample template to create your Trip Plan which captures key
information that Search and Rescue authorities will need if you don’t return
home from your trip when expected.
This form is ideal for capturing details of a day-long or overnight trip. If you
are planning a longer visit or are traveling with a large group, use multiple
pages of the Trip Plan or use your own extra paper.
A Trip Plan is NOT required to visit a national park.
A Trip Plan is NOT a substitute for required activity permits.
DISCLAIMER
The TRIP PLAN does not guarantee your safety or rescue. It is the VISITOR’s
responsibility to accept the risks inherent with their trip and to be self-
reliant in the event of an emergency. The TRIP PLAN relies on the VISITOR
providing correct information to the TRUSTED CONTACT. Search and
rescue efforts can be substantially impeded if:
• Incorrect information is on the Trip Plan
• The Visitor deviates from their Trip Plan
• The Trusted Contact does not receive the Trip Plan or
• The Trusted Contact does not contact authorities.
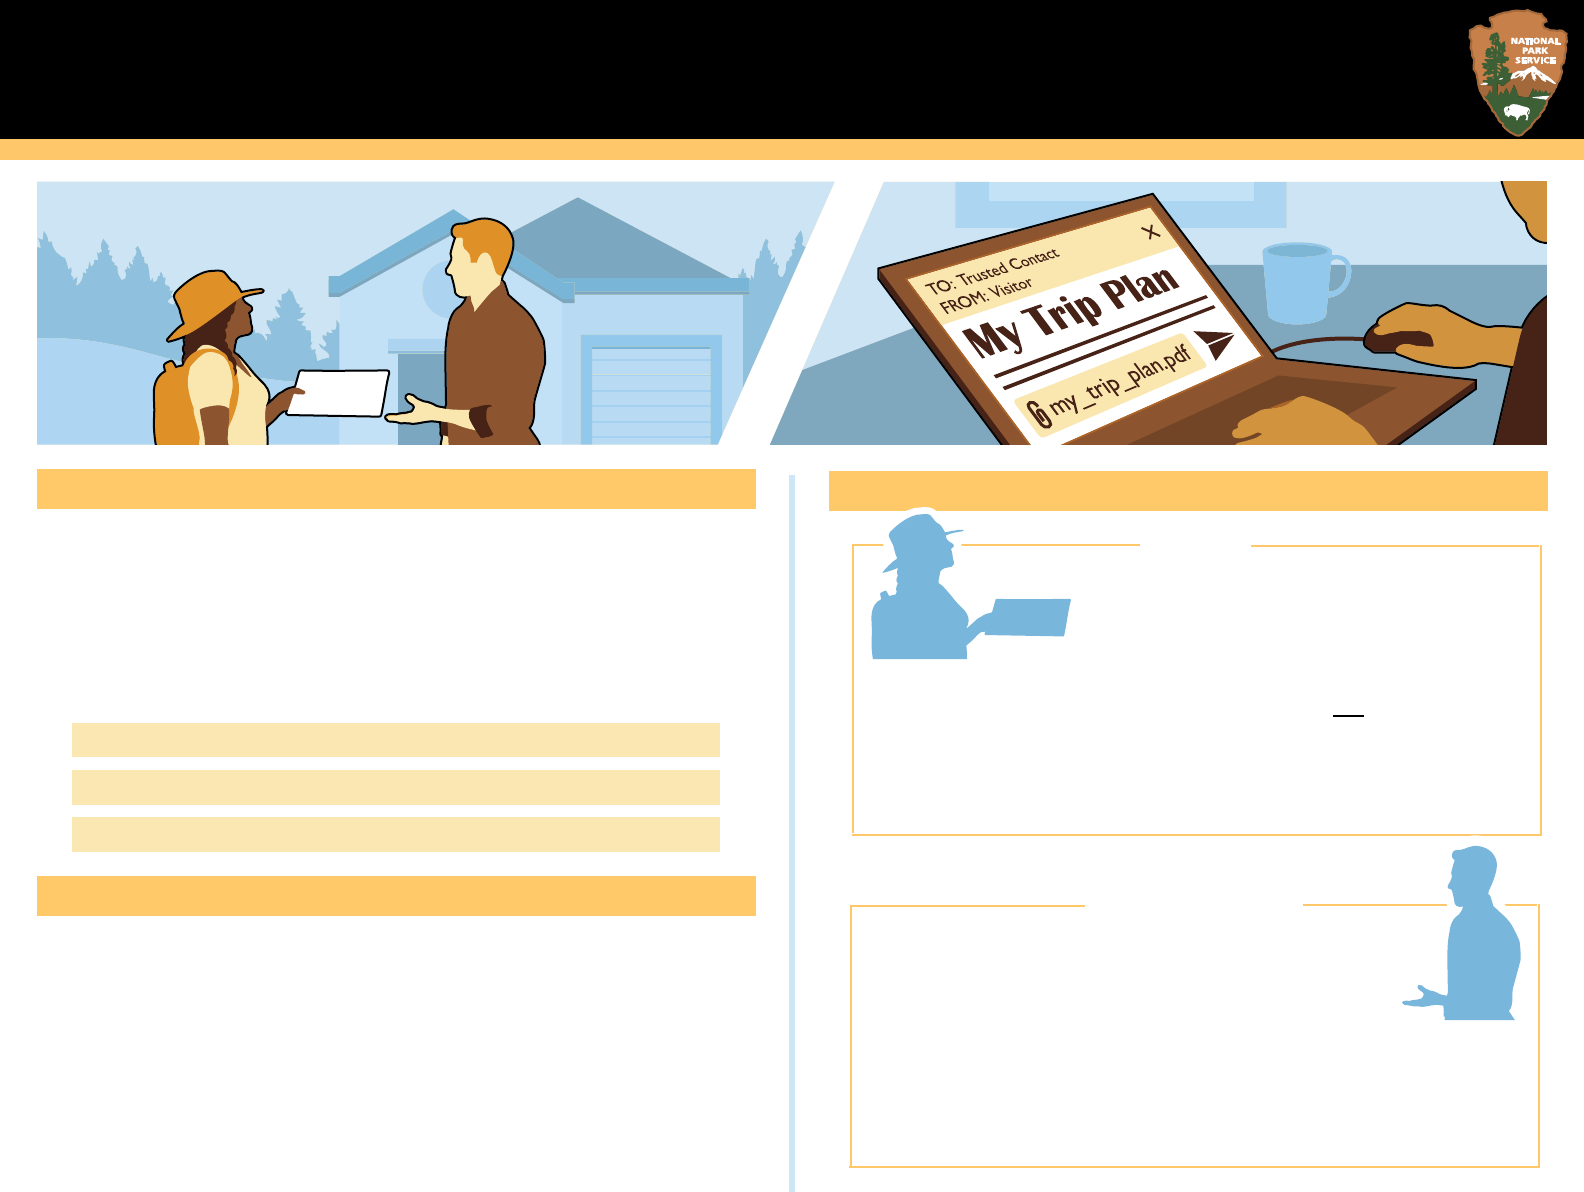
INSTRUCTIONS
VISITOR
The more details you provide the more help
Search and Rescue authorities will have in the
event of an emergency.
1. Leave this form with a Trusted Contact who is not going on the trip
2. Notify Trusted Contact if you put your Backup Plan in action
3. Notify Trusted Contact when you complete each activity
4. Do not leave Trip Plan with the park, they will not accept it
TRUSTED CONTACT
You have been nominated as the Trusted Contact for the
Visitor listed in this form. If they do not return from their
activity by the expected date and time noted in this form:
1. Try contacting the Visitor using the contact number listed under
the WHO section on page 2
2. If you do not hear from them, contact authorities and share
with them the information on this Trip Plan
A Trip Plan is NOT required to seek help during an emergency.

WHO?
PRIMARY CONTACT:
Name:
Age: Phone number:
Emergency distress alerting device type:
Other contacts: Total participant count:
Name:
Age: Phone number:
Name:
Age: Phone number:
Name:
Age: Phone number:
WHERE?
Park name:
Visitor center(s) name and number:
T
ravel or arrival method:
Accommodation name(s) - e.g. hotel, campgrounds:
WHEN?
Date & time of arrival at park:
Date & time of departure from park:
Date & time of expected return:
WHAT?
Activity:
Start location:
Start date & time:
End location:
End date & time:
Activity:
Start location:
Start date & time:
End location:
End date & time:
Backup plan:
Activity:
Start location:
Start date & time:
End location:
End date & time:
EQUIPMENT
:
l:
:
:
Make
Mode
Color
License
Motor vehicle: Water vessel:
Make
Mode
Color
Bicycle:
:
l:
:
Camping tent:
Description
Backpack:
:
Other (e.g. clothing):

Outdoor Emergency Plan
National Park Service
U.S. Department of the Interior
?
Accidents happen. You may get lost or injured while recreating outdoors. Help can take hours or days depending on your location, weather,
and resources. Read and practice the Outdoor Emergency Plan to learn how you can prevent getting lost or injured and what to do in case it
happens. Use the NPS Trip Planning Guide to plan your visit and include any family or friends traveling with you.
PREVENT GETTING LOST OR INJURED
BEFORE THE TRIP
Get a park map – Print one from the park’s website, download one from
the NPS app, or pick one up at the Visitor Center. Consider a trail or
topographic map if your activity requires a more detailed layout. Practice
reading the map.
Review your route – Review the map and your planned route. Take note
of landmarks you can use as a reference point.
Pack the 10 Essentials – Practice using your compass or handheld GPS. Pack
extra batteries for your flashlight.
Pack a whistle – Blowing a whistle helps people find you and saves your
energy from yelling.
Pack a mirror – Flashing your mirror helps signal people if you become lost
and mirrors don’t run out of battery.
Wear bright clothing – Make yourself easier to see in the case of a Search
and Rescue event.
Fill out a Trip Plan – Leave it with a Trusted Contact who is not going on the
trip with you.
DURING THE TRIP
Stay on trail and designated areas – Reduce the risk of getting lost or
injured while protecting the natural resources around you.
Stay aware – Pay attention to trail junctions, information signs, and
landmarks. Frequently check that you are still on your planned route.
RANGER TIP
With a group? Check out the
Outdoor Emergency Plan article to
learn how to keep a group together.
Traveling with kids? Check out the
Junior Ranger Park Explorer where
they can learn about Hug-A-Tree.

WHAT TO DO IF YOU GET LOST
Help can take hours or days depending on your location,
weather, and resources. Use your knowledge, skills, and tools to
retrace your steps if it is safe to do so. If you call for help and are
waiting for rescue, follow the steps below to inventory your
resources and conserve energy.
1. RETRACE YOUR STEPS
Use your knowledge, skills, and tools to nd your way.
• Stop and breathe – Take a moment to calmly assess your situation.
• Find your location – Use your map, compass, handheld GPS, or visible
landmarks to try to find your location.
• Retrace your steps – If it is safe to do so, retrace your steps to get back
on your planned route.
2. CALL FOR HELP
911
If you cannot retrace your steps:
• Call 911 – Tell them:
• GPS coordinates from your phone, if available.
• Name of the trail or area of the park where you started your activity.
• Your last known location before you became lost.
• Description of your surroundings including visible landmarks.
• Types and colors of clothing you are wearing.
• Equipment you are carrying.
• Any medical conditions you may have.
• Stay put – Changing location will make it difcult for authorities to nd
you. Move only if there is an immediate threat to your life.
3. WAIT FOR HELP
If you do not have a cellphone or cell reception to call 911:
• Find shelter – Find a place that can protect you from natural elements
such as sun, rain, snow, etc..
• Inventory and conserve your resources – Check your 10 essentials
and other items you packed to help you stay safe until help arrives.
• Keep warm – The temperature outside can change throughout the day. If
you begin to feel cold put on any extra layers of clothing you have with you.
Do not build a re if there is a high re risk at the park or
if it is wildland re season. It could cause a wildre and put
you and others at great risk.
• Signal for help – Use the following signals to help search and rescue
authorities find you.
• Blow your whistle often – Save your energy by not yelling. Blow your
whistle three times, take a break, and blow three times again.
• Flash your flashlight – Flash the SOS pattern: three times quickly,
three times slowly, three times quickly. Use your flashlight wisely as this
will drain the batteries.
• Flash your mirror – To alert planes and helicopters flying in the area.
• Make yourself visible – Lay out the shelter from your 10 essentials or use
rocks to create a shape that can be seen by aircrafts flying in the area.
• Conserve energy – Wait patiently for help to arrive.

WHAT TO DO IF YOU GET INJURED
MINOR INJURIES
When dealing with minor injuries such as scrapes, bruises, and
muscle strain:
• Treat the injury – Use the First Aid kit from your 10 Essentials to clean
and cover the affected area.
• Rest – Take rest in a shaded area, if possible.
• Drink water – Stay hydrated by drinking plenty of water.
• Eat a salty snack – This will give you energy and help replenish electrolytes.
• Turn around – If the injury does not allow you to safely finish the activity.
Fire
Matches or fire starter
Extra Water
Water and water
treatment supplies
Shelter
Tent, tarp, or bivvy
Sun Protection
Sunscreen, hat, and
sunglasses
The 10
Essentials
Navigation
Map, compass, and
GPS system
Extra Clothing
Jacket, hat, and
gloves
Repair Tools
Multi tool and duct
tape
Extra Food
Fruit, nuts, and
salty snacks
Light
Flashlight, headlamp,
and extra batteries
First Aid
First Aid Kit
MAJOR INJURIES
In the event of chest pain, difculty breathing, or a major injury such
as major bleeding or broken bones:
• Call 911 – Tell them:
• About your injury and any medical conditions you have.
• If you have a rst aid kit and any equipment that might help you stabilize
the injury.
• GPS coordinates from your phone, if available.
• Name of the trail or area of the park where you are.
• Description of your surroundings including visible landmarks.
• Flag down help – If there is no cellphone reception, ag down someone
and ask them to travel back to an area with reception and call 911.
• Stay put and minimize movement – This will prevent further injuries.
Move to another location only if there is an imminent threat to life.
• Control bleeding – Apply direct pressure to the wound.
• Keep warm – The temperature outside can change throughout the day. If
you begin to feel cold put on any extra layers of clothing you have with you.
• Make yourself visible – If you can, lay out the shelter from your 10
essentials or use rocks to create a shape that can be seen by planes or
helicopters ying above.
• Stay safe – Follow the steps for minor injuries while waiting for help.
SOMEONE IN YOUR GROUP IS INJURED?SOMEONE IN YOUR GROUP IS INJURED?
• Send two or more people to alert authorities while the rest of the
group stays with the injured person.
• If there is only you and the injured person, follow the steps above to
help stabilize them and then go look for help.
